How to Take a Three-Colour Image using iTelescope
Making a three-colour image is slightly more complicated than taking a one-click image. If anything, you will have to make more clicks! On a more serious note, this time you will have more options as you prepare your observations. You may encounter unknown terms, so in addition to explaining the procedure we will focus here on clarifying some of the jargon to make the process of preparing and taking your images go smoothly.
There are two ways to take a three-colour image. You can run observing script without making any plans and reservations. The better, more secure and recommended way is to make an observing script in advance and reserve time on a telescope of your choice.
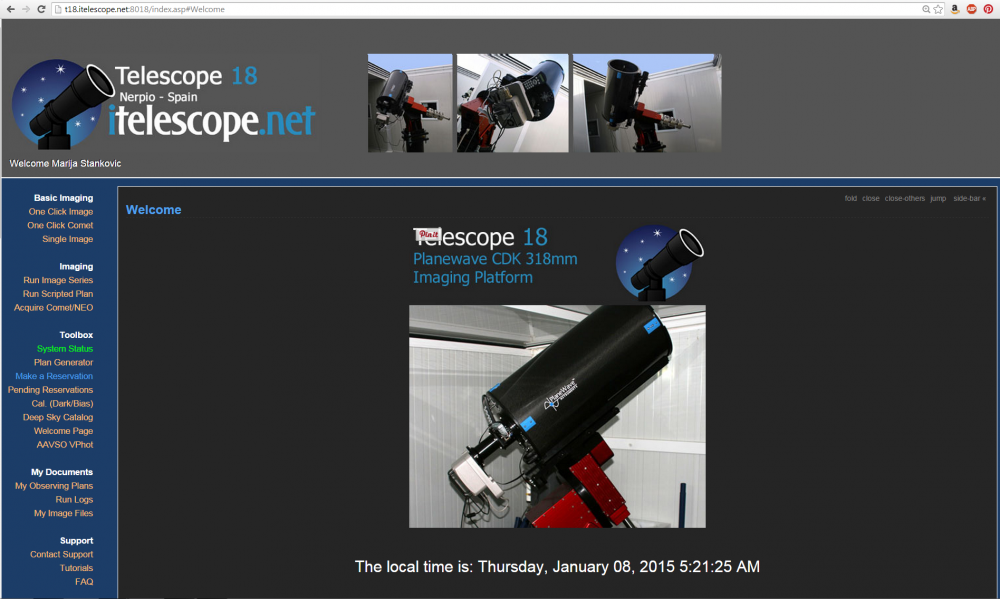
Regardless of which of these two ways you want to use, first you need to login to your iTelescope account and select the telescope you plan to use. The starting point is the main page of the telescope of your choice (T18 in this case):
In this tutorial we will mainly focus on how to take the images. For more help on how to prepare your observations beforehand, which targets to choose, which telescope to use, etc., please refer to Help on Preparing Observing Project Proposal.
Run Scripted Plan
This is a prefered way of conducting your observations. It is also more convenient as you do not have to monitor observing process in real time. Everything is done automatically, and once the observing run is finished, you will get confirmation email (just as you did when you took One-Click Image). So, these observations can be done while you are in class, having dinner or sleeping! Once the observing is complete you will have to download your files. On instructions how to do this, please visit the Downloading Data from iTelescope.
