How to Take a One-Click Image using iTelescope
From PMU199L0111
Making a One-Click observation with iTelescope is fairly easy. The one-click image interface abstracts away a lot of the complexity of the iTelescope system. It sets you up with some default parameters and gets you an image quickly.
Here are the steps you need to follow.
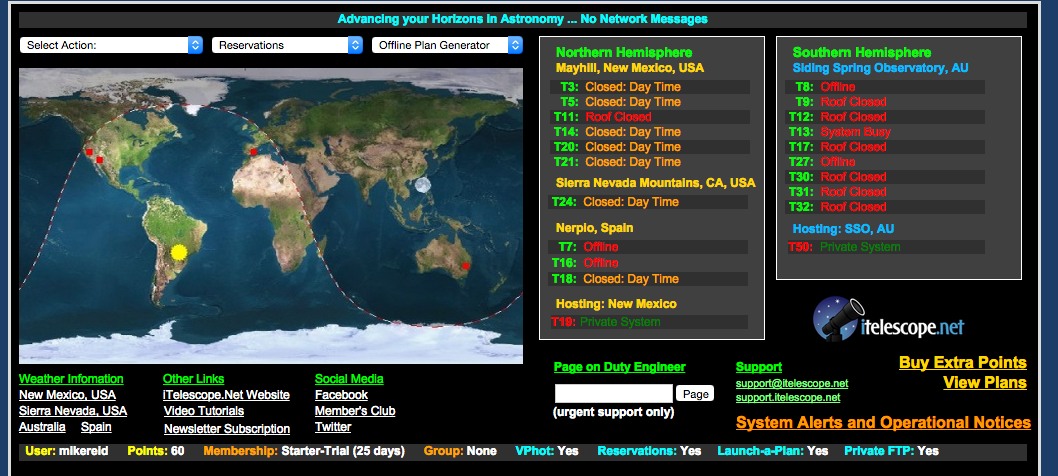
- Log into the iTelescope web site, using the username and password provided to you. After you log in, you should see the Launchpad:
- Click on the text beside the name of a telescope. When I took the above screenshot, all of the telescopes were closed. Still, you can click on the phrase "Closed: Day Time" beside the name of any telescope to see how the interface looks. When the telescopes are open, this text will change. For more information, see the Get Started with iTelescope page.
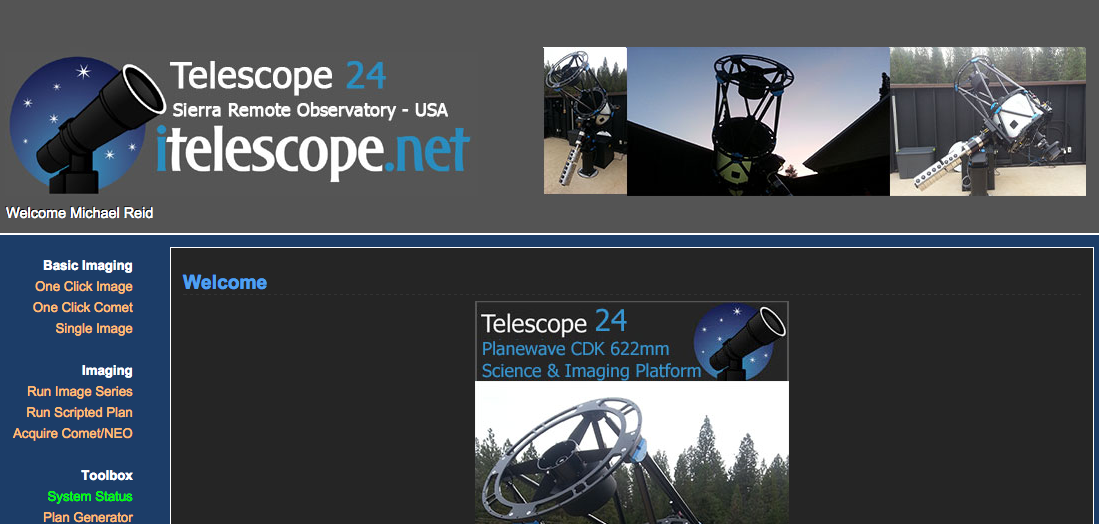
- Now you should see the observing interface for the telescope you clicked on (T24 in this example):
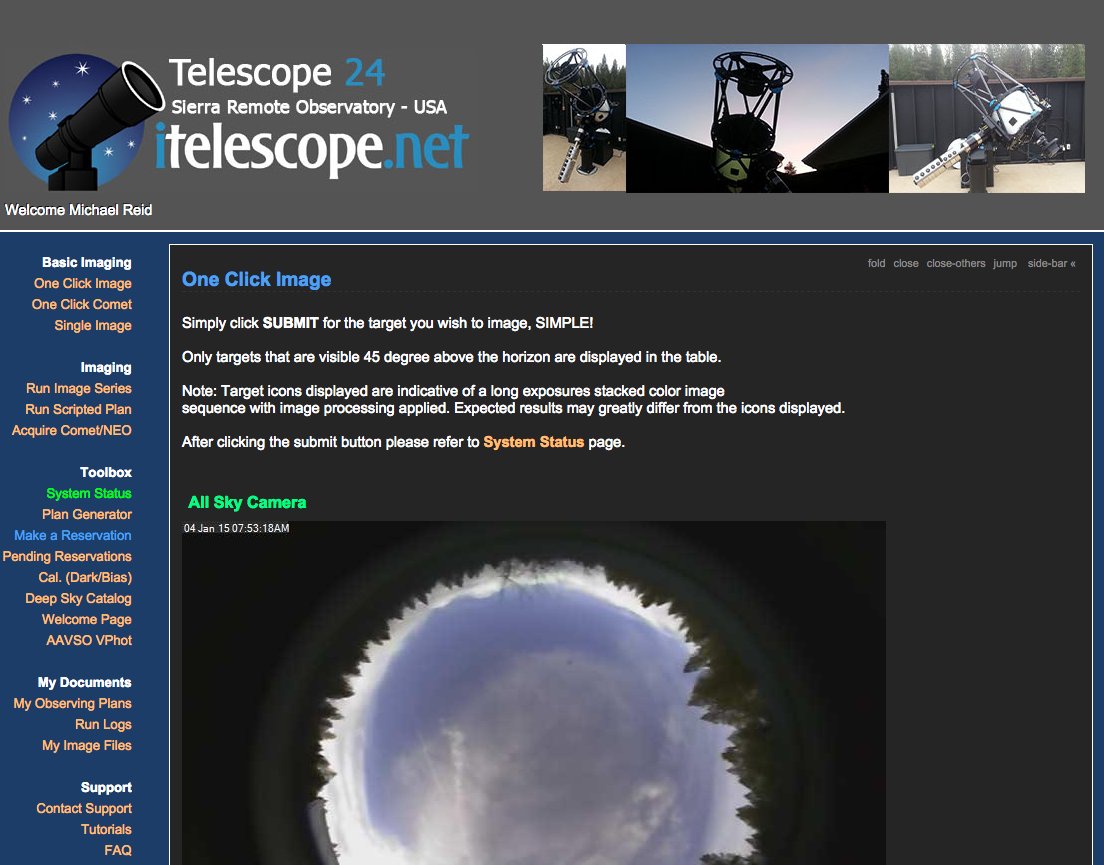
- In the menu on the left, click on "One Click Image" under "Basic Imaging". Now you should see the one-click page for that telescope:
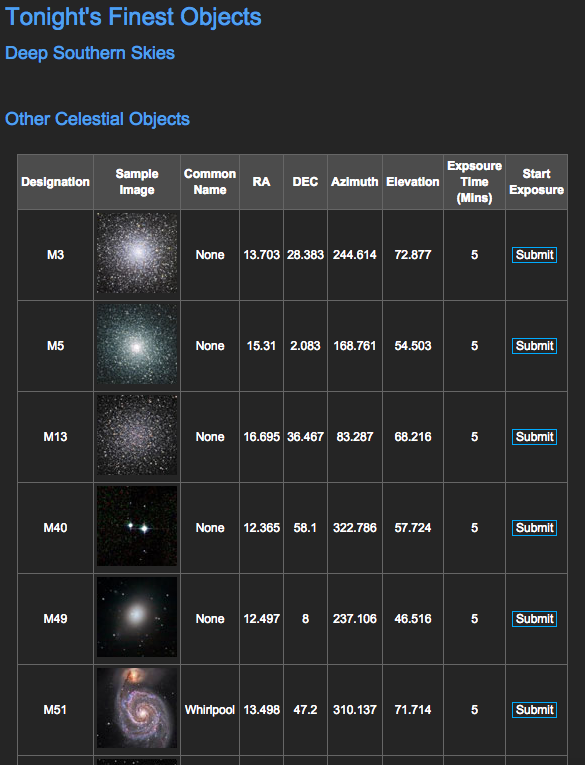
- Scroll down that page. You should see one or more tables of objects that you can observe. It will look something like this:
- The system is abstracting away a lot of the details for you. It's showing you all of the really nice objects that happen to be visible to the telescope you've clicked on at the time you've clicked on it. The selection of objects will change hour by hour as the Earth rotates on its axis, bringing new objects into that telescope's view. The system has also set up the telescope in a very basic default mode. It's a lot like using a point-and-shoot camera: your camera (or your phone) decides what the best settings are and takes the image with one click of the shutter button. Astronomical images take a lot longer than a second to acquire. The objects are very dim, so the "shutter" has to stay open for a long time to collect enough light. We call this the "exposure time". For the one-click image interface, the exposure time is set to a default value of five minutes. This is a reasonable value for all of the bright objects that appear in the table. It might not give you a great image, but it should give you a half-decent one. Later, we will explore how to tweak the settings to get a better image of a particular object. For now, choosing object that looks interesting to you and press the "Submit" button.
- Once you've hit submit, you should get a message saying that you should go to the "System Status" page. To do that, scroll back up the page and either click on the "System Status" link in the text at the top of the page, or the "System Status" link in the menu on the left side, under "Toolbox". You should get a page like this:


