How to Take a One-Click Image using iTelescope
From PMU199L0111
Making a One-Click observation with iTelescope is fairly easy. The one-click image interface abstracts away a lot of the complexity of the iTelescope system. It sets you up with some default parameters and gets you an image quickly.
Here are the steps you need to follow.
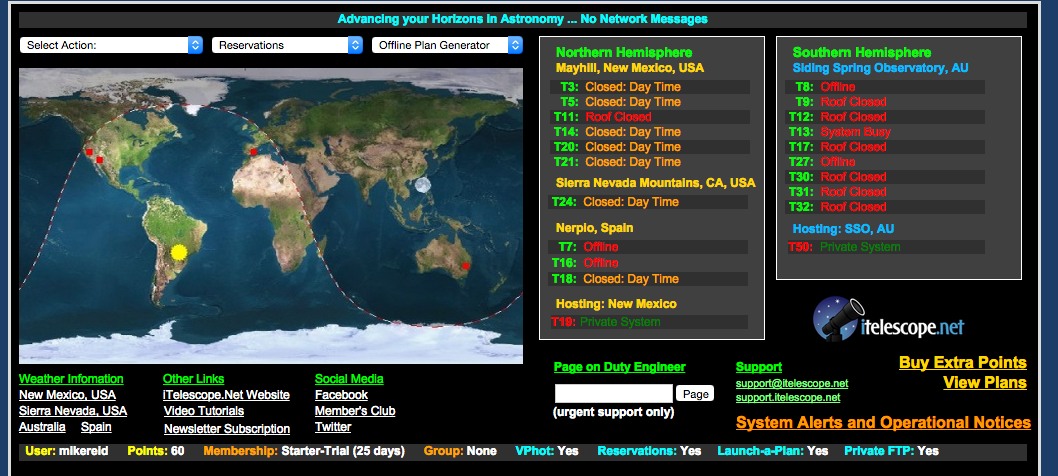
- Log into the iTelescope web site, using the username and password provided to you. After you log in, you should see the Launchpad:
- Click on the text beside the name of a telescope. When I took the above screenshot, all of the telescopes were closed. Still, you can click on the phrase "Closed: Day Time" beside the name of any telescope to see how the interface looks. When the telescopes are open, this text will change. For more information, see the Get Started with iTelescope page.
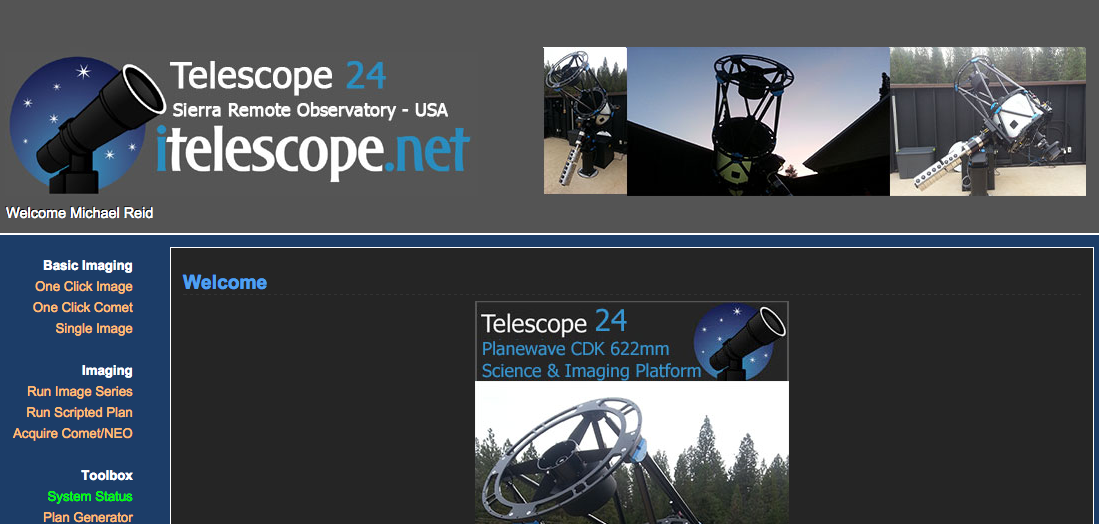
- Now you should see the observing interface for the telescope you clicked on (T24 in this example):
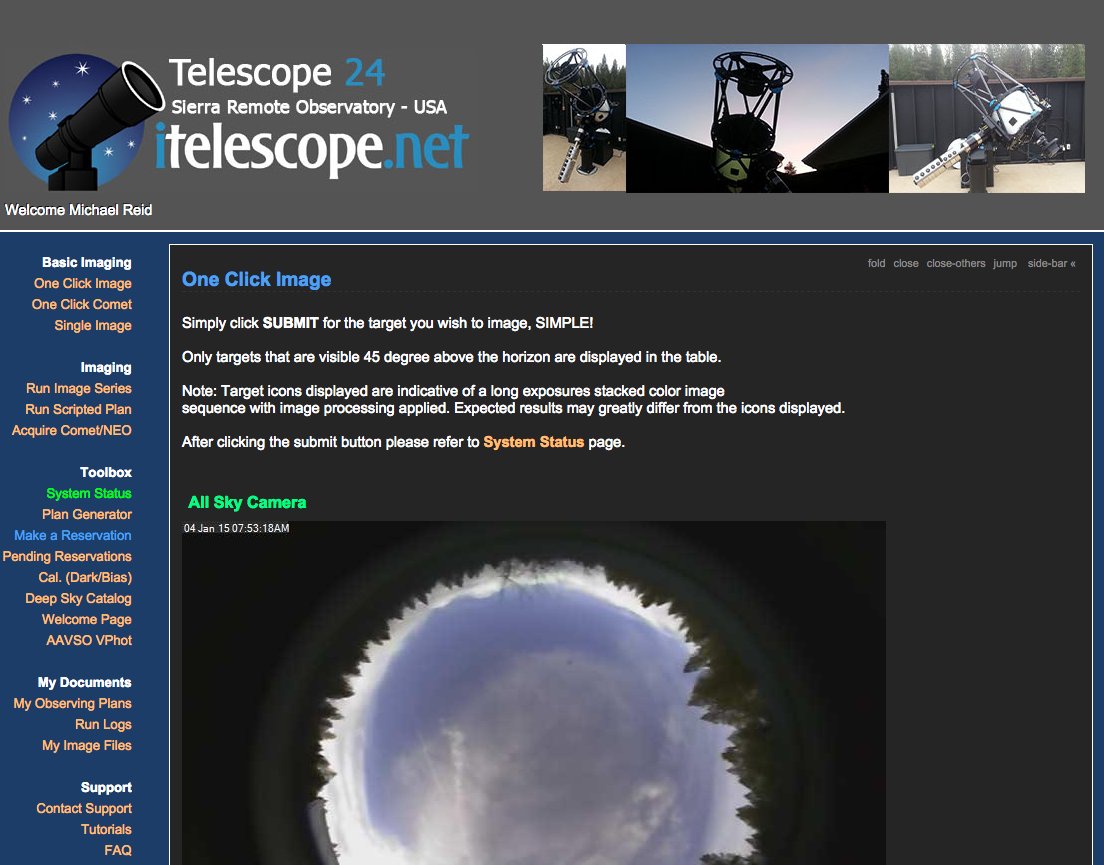
- In the menu on the left, click on "One Click Image" under "Basic Imaging". Now you should see the one-click page for that telescope:


